How to Fix Peeling Boot Lining – Step by Step Guide
Watching your favorite pair of leather boots peel away slowly definitely does not feel good. If you wear it frequently, there is a good chance that you would have to deal with it sooner or later. Your two options when it happens are either to throw it away or buy a new pair.
But what if there was a third option? If you had a chance to fix your peeling boot lining yourself, you could save yourself from a lot of unnecessary costs of repairing the shoe. However, not everyone knows how to fix peeling boot lining.
That is where we come in. In this article, we will give you a quick guideline on how you can save your shoe and fix the peeling boot lining without any extra cost or hassle on your part. So, without further delay, let us get started.
What Type of Boots Are You Trying to Fix?
Before you start tinkering with the boot, take a moment to consider what type of boot it is in the first place. Your approach will vary wildly based on the material.
Since your boot lining started to peel, one thing is certain, it is not real leather. Real leather is extremely durable and does not peel too often. So, either your shoe is made with bonded leather or faux leather.
If it is made with faux leather, it is not very expensive. In that case, you would be better off throwing it away instead of taking the hassle to fix it. Bonded leather boots on the other hand cost a bit more and might be beneficial to you if you can fix it.
Steps to Fix Peeling Boot Lining
In any case, if you do decide to fix your leather shoe lining by yourself, you would need a couple of items.
- 180-grit Sandpaper
- A Permanent Marker
- Shoe Goo or similar adhesives
- Leather Shoe Polish
- A Paintbrush
After gathering the items on this list, you are ready to get to work. Here are the steps to fixing peeling boot lining and making it look nearly as good as new.
Step – 1

When the shoe started peeling, it will have a lot of flaky pieces of peeling leather on the surface. You need to start off by taking them off.
Use 180-grit sandpaper to even out the surface of the boot. Make sure you apply enough pressure and move the sandpaper in tight circles on the surface of the boot.
Step – 2
The next step is where things get a bit weird. Take a permanent marker that matches the color and texture of your boot.
So, if you have a pair of brown boots that need fixing go with a brown marker pen. Then fill the cracks where the leather has peeled using the permanent marker.
Step – 3

Take a piece of cloth, apply some shoe polish, and polish the boots. Make sure you get all the parts of the boot and use long wide strokes to cover the entire area.
You should only use high-quality shoe polish. Do not skimp out when buying polish for your boots if you want them to look good.
Step – 4
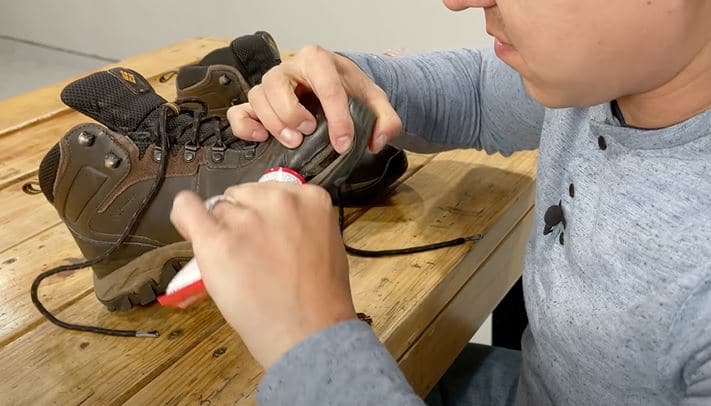
Then dip your paintbrush inside Shoe glue or other similar adhesives with powerful bonding qualities and apply it over the surface of the shoe.
We prefer Shoe Goo as it is easy to find in almost any local store.
Step – 5
Once you have applied the adhesive, let it set. It can take anywhere from 24 to 36 hours for the adhesive to settle.
Do not apply any heat or store it directly under the sun. Put it in a well-ventilated area and let it dry up on its own.
How to Properly Store Boots to Prevent Peeling?
Now that you know how you can restore your boots if they start to peel, let us move on to another important issue.
Oftentimes, the main culprit behind causing your boots to start peeling is how you store them. Tossing your boot towards a corner of the room when you reach home is not a very good practice.
Although real leather boots are quite durable, bonded, or faux leather ones can peel quite easily if you handle them without care. To extend their lifespan, you want to store them the right way.
In the following section, we will give you a quick rundown of how you should store leather boots to prevent peeling and extend their lifespan.
Use Shoe Racks

You should never keep your shoes on the floor carelessly. Using a shoe rack, basket, or an over-the-door shoe organizer to store them goes a long way toward extending their lifespan.
A shoe rack or organizer will ensure your boots stay in the right form. It will also keep dust away from your boots keeping them clean.
Keep It Away From Heat

You should never store your shoes in direct contact with a heat source. This means, storing them under the sun is not a good idea.
If you have a cabinet or closet, that can be a great option to keep your boots. If you live in a particularly humid area, consider putting a dehumidifier inside the cabinet.
Dry Before Storing
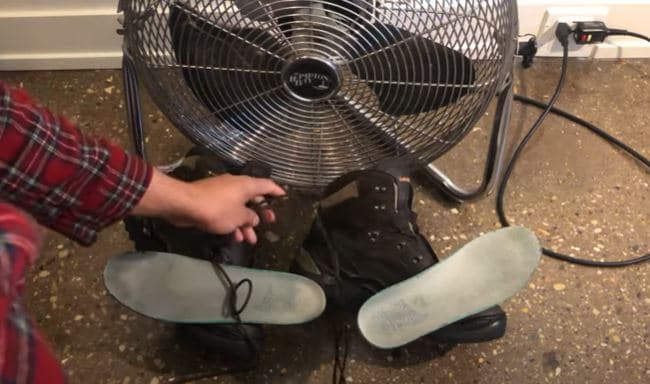
If your boots are wet, make sure you dry them properly before you store them. Wipe it off with a clean rug and let it air dry.
You do not want to use a hairdryer or some other way to speed up the drying process. Just let it dry up on its own before you put it on the rack.
Clean Regularly
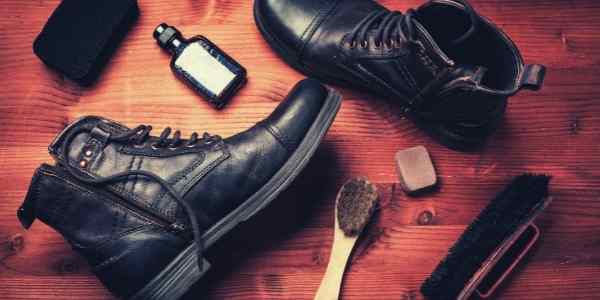
You should keep some time aside each weekend to maintain and polish your shoes. Vinegar works wonders when it comes to restoring leather boots.
Talcum powder and petroleum jelly can also be quite effective at giving your boots a light touch-up. Other than that, you should also keep a dry brush nearby for shoe maintenance from time to time.
Do Not Keep Socks Inside
Never keep your socks inside the shoe when you store it away. Though it might be tempting to simply keep your dirty socks inside the shoe, resist the urge.
It might not cause peeling directly, but the interior of the boot will start smelling, which is just as difficult to get rid of.
Final Thoughts
When a leather boot starts peeling, it is a tell-tale sign that you need to replace the shoe soon.
However, with the method we mentioned, you can get a few extra years out of the boot. We hope our thorough guide on how to fix peeling boot lining could help you restore your boots.


